Running Codename Goose in a Dev Container
Exploring prompt-based workflow orchestration with MCP servers and Goose

NOTE: This is the first in a series of posts about Goose.
It all started when I read the post below by Angie Jones on Bluesky:
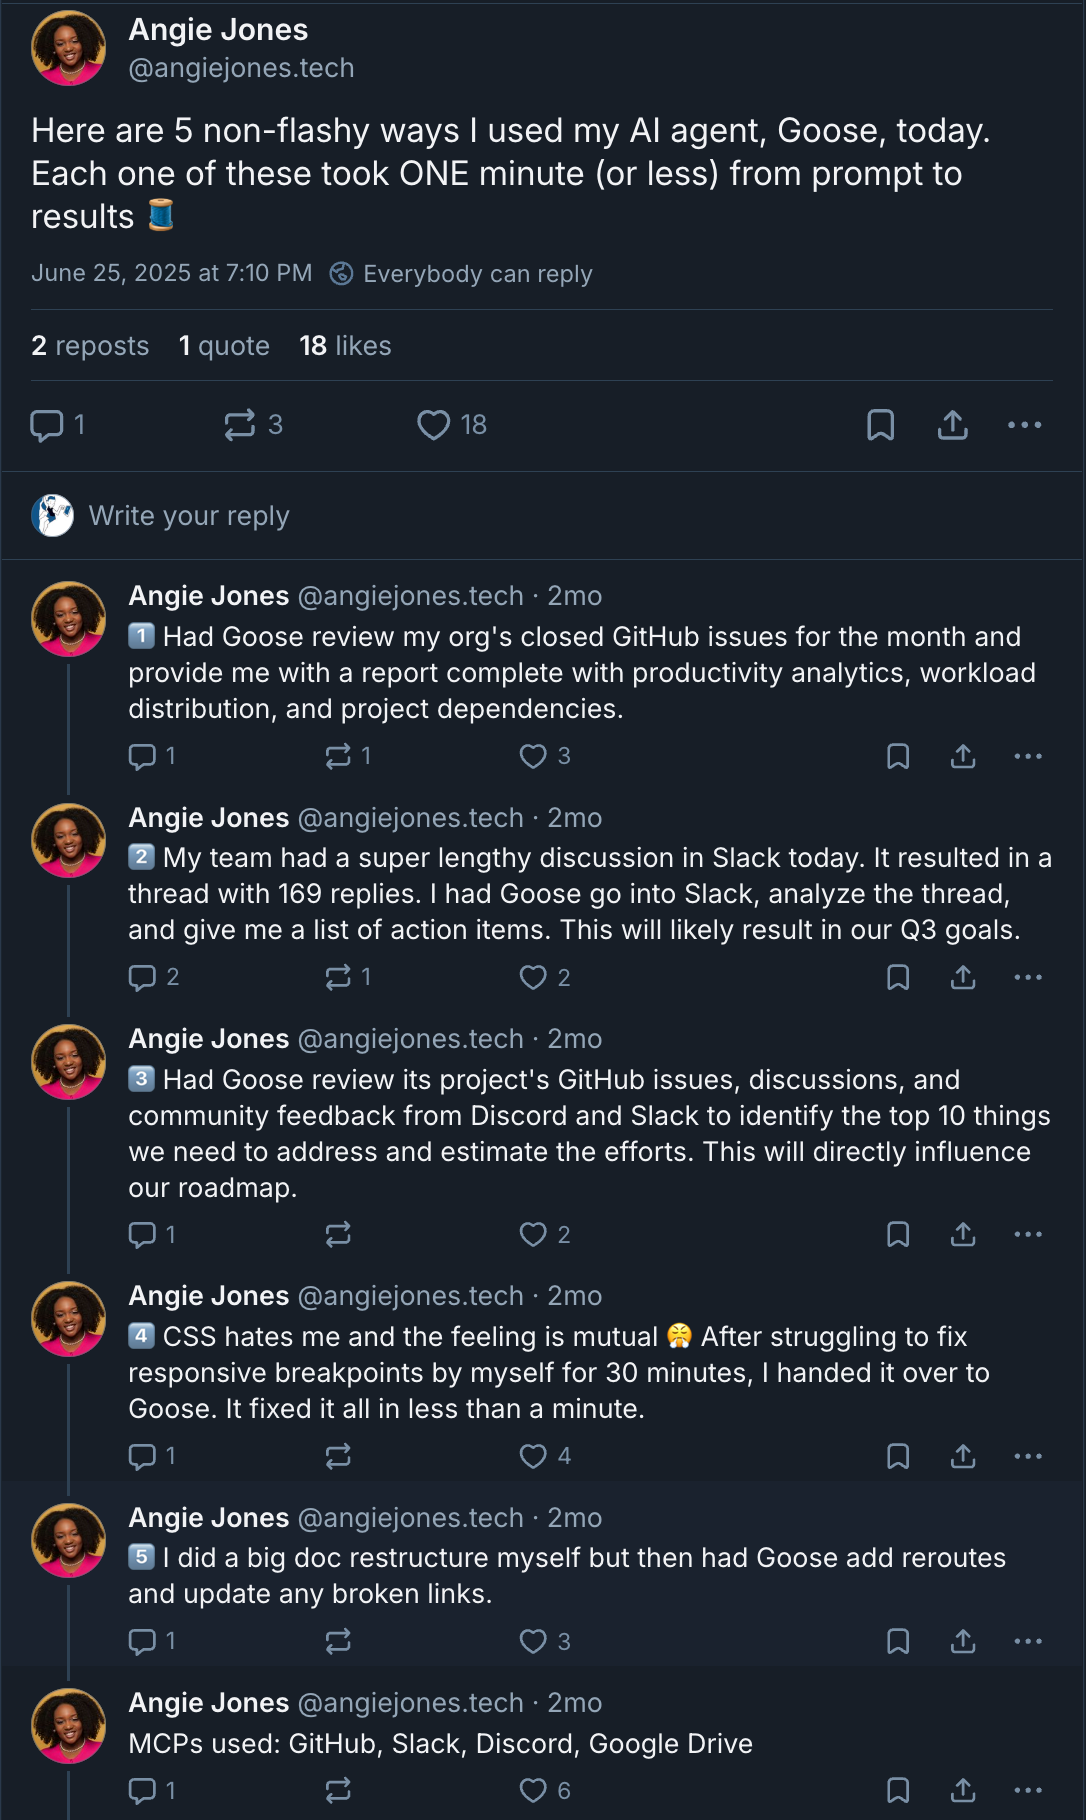
Damn. This Goose thing sounds super cool! I wanna try me some of that! Now, if you’ve read my writings, you know that I’m a huge fan of dev containers. They’re great for creating self-contained, portable development environments. And when it comes to using a tool like Goose, which has the ability to interact with your local development environment, I wanted to limit what it could touch, in case I screwed up. 😳
In this blog post, I will show you how I created a dev container for running Goose.
But first, allow me to provide you with some additional context.
Motivation
Model Context Protocol (MCP) servers are all the rage. They have been a huge game changer, opening up the tech world to natural language interactions with various systems à la Star Trek.

My initial exploration of MCP servers led me to some hands-on time using the Dynatrace MCP server to query OpenTelemetry data in Dynatrace using natural language. But why stop there? What if we could orchestrate an SRE workflow using MCP servers? And what tool would we use to get the job done?
Enter Block’s Codename Goose. According to Angie Jones, Goose is
A fully customizable, open-source client that connects to 4,000+ MCP servers and works with any large language model (LLM).
You can think of Goose as an abstraction layer above your chatbot, allowing you to create reusable workflows and leverage the power of MCP servers to help you do this.
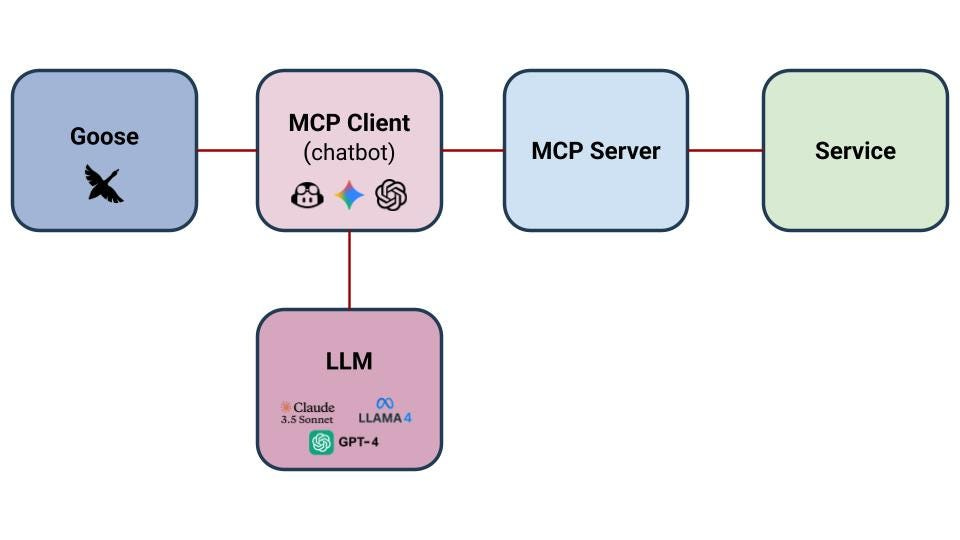
The cool thing about Goose is that it allows you to create reusable prompts, called Recipes. My ultimate goal was to create a set of Goose recipes to automate the following workflow:
Create a local Kubernetes cluster (KinD)
Deploy ArgoCD to that cluster
Use ArgoCD via the ArgoCD MCP server to manage the deployment of the OpenTelemetry Demo App, sending OpenTelemetry data to Dynatrace
Query Dynatrace using natural language via the Dynatrace MCP server
Cool. Now that you’re all caught up, let’s create a Goose dev container!
Tutorial
For your convenience, I have a lovely GitHub repo with my end-to-end Goose example, including the dev container configuration. You can check it out here.
Dev Container JSON
My dev container definition looks like this:
{
    “name”: “default”,
    “image”: “mcr.microsoft.com/devcontainers/python:dev-3.13-bullseye”,
    “features”: {
      “ghcr.io/devcontainers/features/node:1”: {},
      “ghcr.io/devcontainers-extra/features/kubectl-asdf:2”: {},
      “ghcr.io/dhoeric/features/k9s:1”: {},
      “ghcr.io/devcontainers/features/docker-in-docker:2”: {},
      “ghcr.io/mpriscella/features/kind:1”: {},
    },
    “overrideFeatureInstallOrder”: [
        “ghcr.io/devcontainers/features/node”,
        “ghcr.io/devcontainers-extra/features/kubectl-asdf”,
        “ghcr.io/dhoeric/features/k9s”,
        “ghcr.io/mpriscella/features/kind”
    ],
    “hostRequirements”: {
      “cpus”: 5,
      “memory”: “32gb”,
      “storage”: “16gb”
    },
    “remoteEnv”: {
      “PODMAN_USERNS”: “keep-id”,
    },
    “containerUser”: “vscode”,
    “runArgs”: [
      “--init” // Recommended for proper process management
    ],
    “capAdd”: [
      “IPC_LOCK”
    ],
    “postCreateCommand”: “.devcontainer/post-create.sh”,
  }
My base image is a Python image:
mcr.microsoft.com/devcontainers/python:dev-3.13-bullseyeIn case you’re wondering why, it’s in case I need to run any MCP servers that rely on uvx, an alias of Python’s uv tool: uv <toolname> run. uv itself is a Python package and project manager.
I also include the following features in my devcontainer.json:
node: Required for running the Dynatrace MCP server locally
kubectl: installs
kubectlk9s: installs the k9s CLI, my favourite tool for managing Kubernetes clusters
docker-in-docker: required for running KinD
kind: installs KinD
Installing Goose
Goose gets installed as part of running post-create.sh, which is called by my devcontainer.json:
“postCreateCommand”: “.devcontainer/post-create.sh”To install Goose, run:
curl -fsSL https://github.com/block/goose/releases/download/v1.7.0/download_cli.sh | bashThis downloads and installs the Goose CLI, and prompts you to configure it.
Unfortunately, installing Goose in a dev container turned out to NOT be as straightforward as I thought it would be. To understand why, let me walk you through what happened when I tried to just run the above curl command.
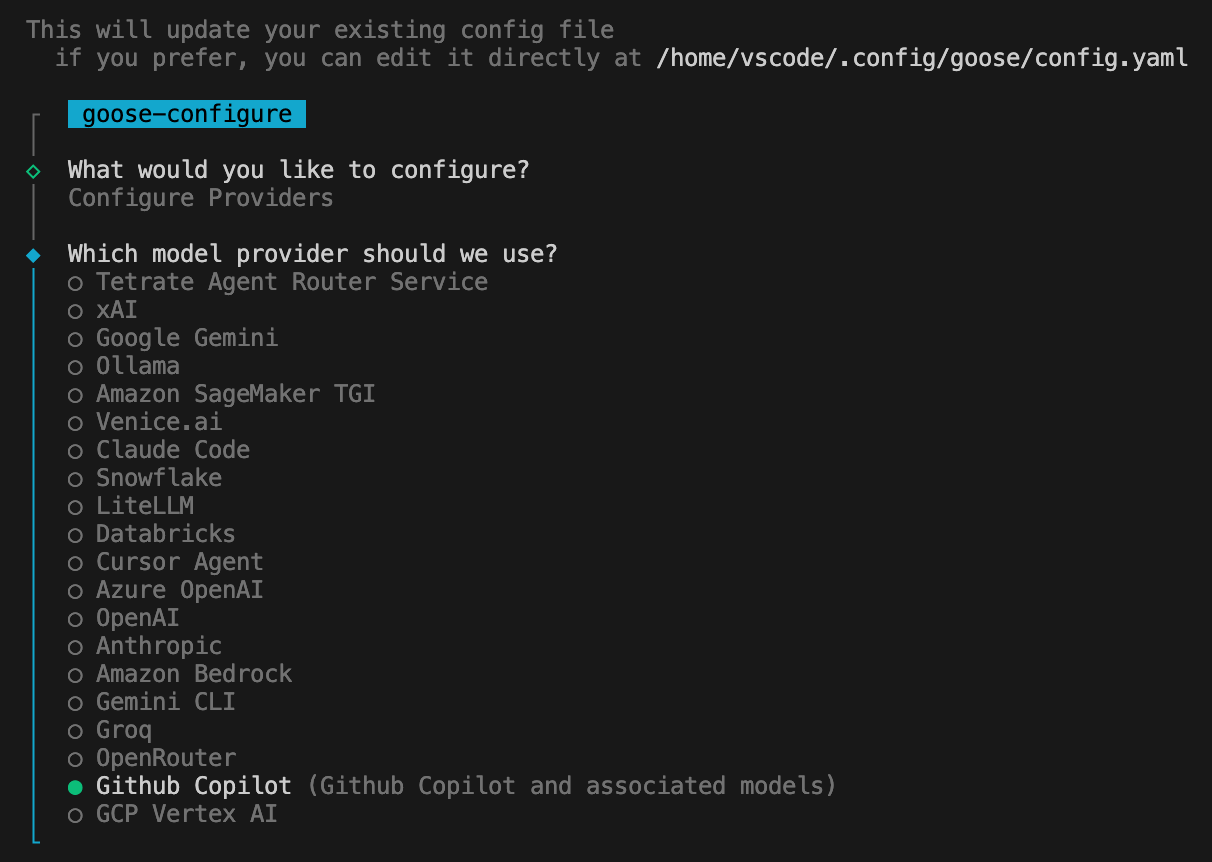
As I mentioned, the above curl command downloads and installs Goose. It then launches into the Goose configuration. You can run the Goose configuration at any time after installing Goose by running goose configure. Upon launching the Goose configuration, you get this screen:
The first thing you need to do is configure an LLM Provider (i.e. chatbot, like GitHub Copilot and Gemini). In my case, I wanted to use GitHub Copilot, so I selected it from the list:
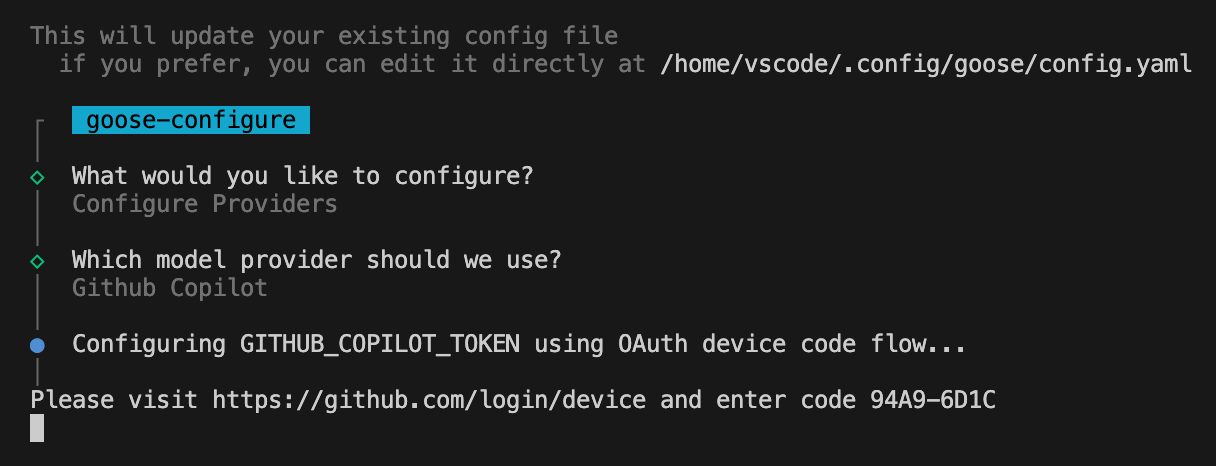
After selecting Copilot, I got this screen:
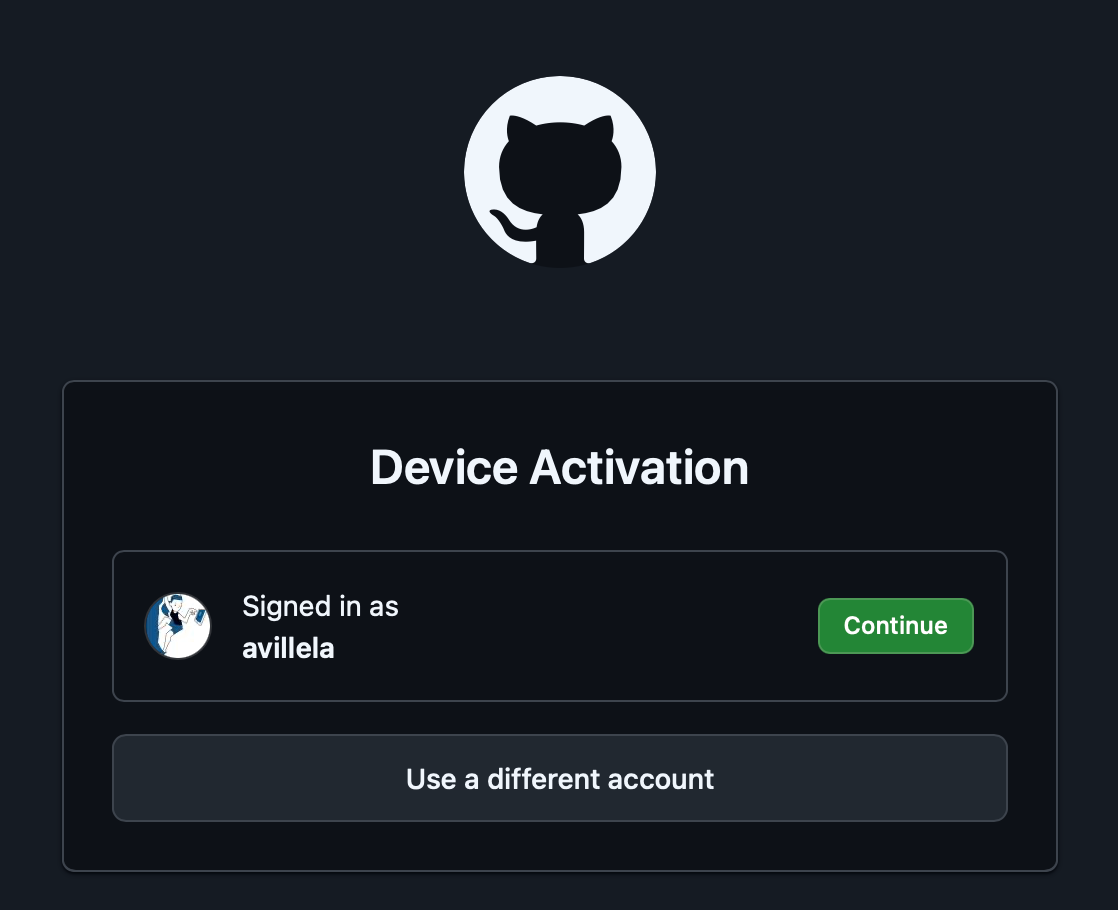
Clicking on the above link opened up my browser:
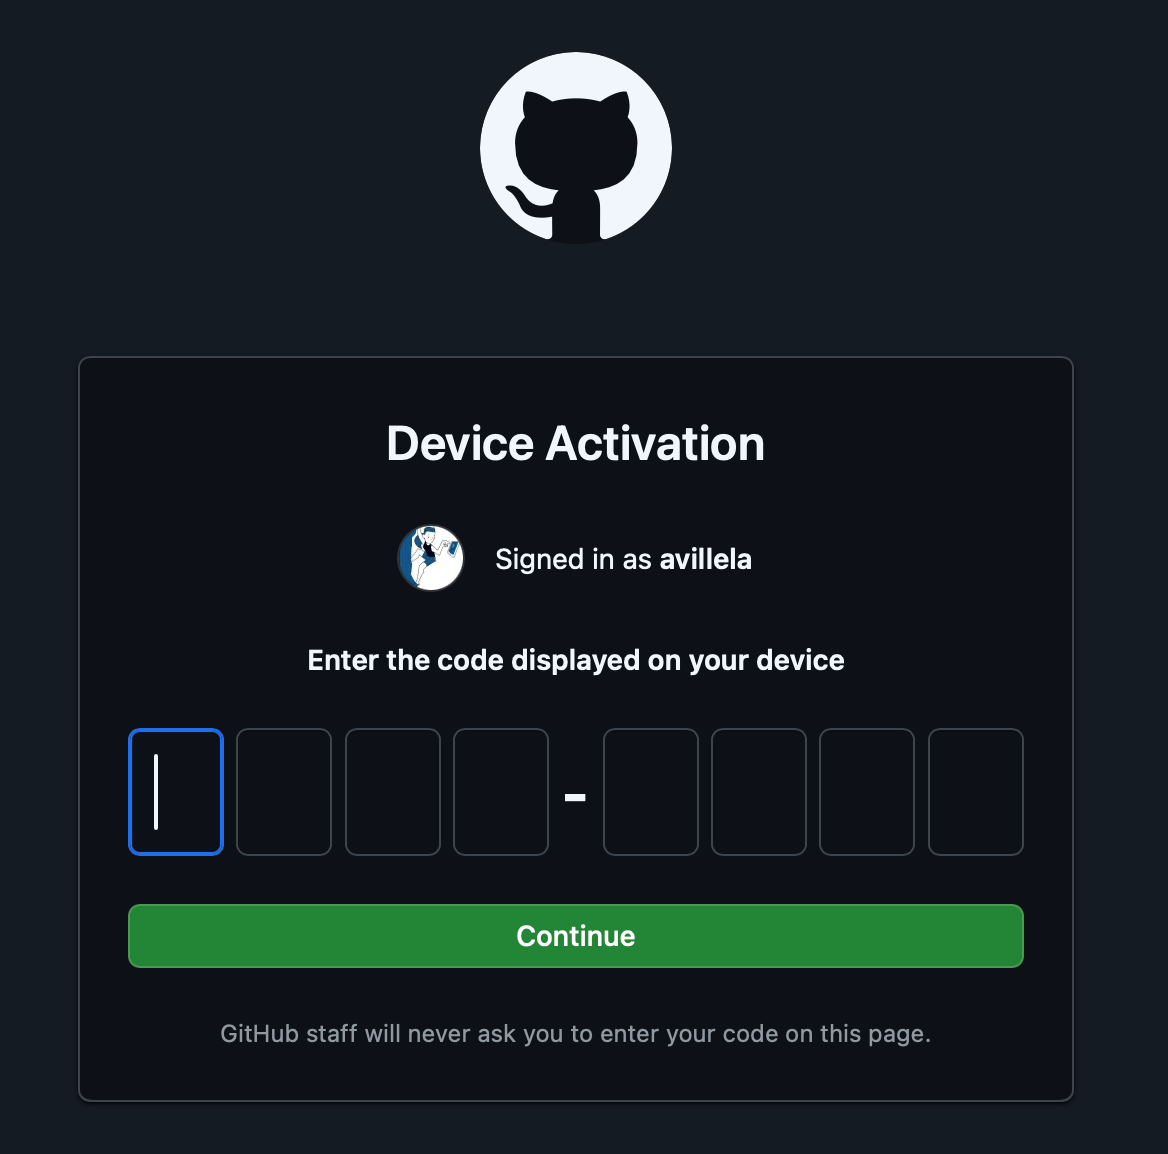
After clicking on “Continue”, I was prompted to enter the code, 94A9–6D1C, per the earlier screen shot:
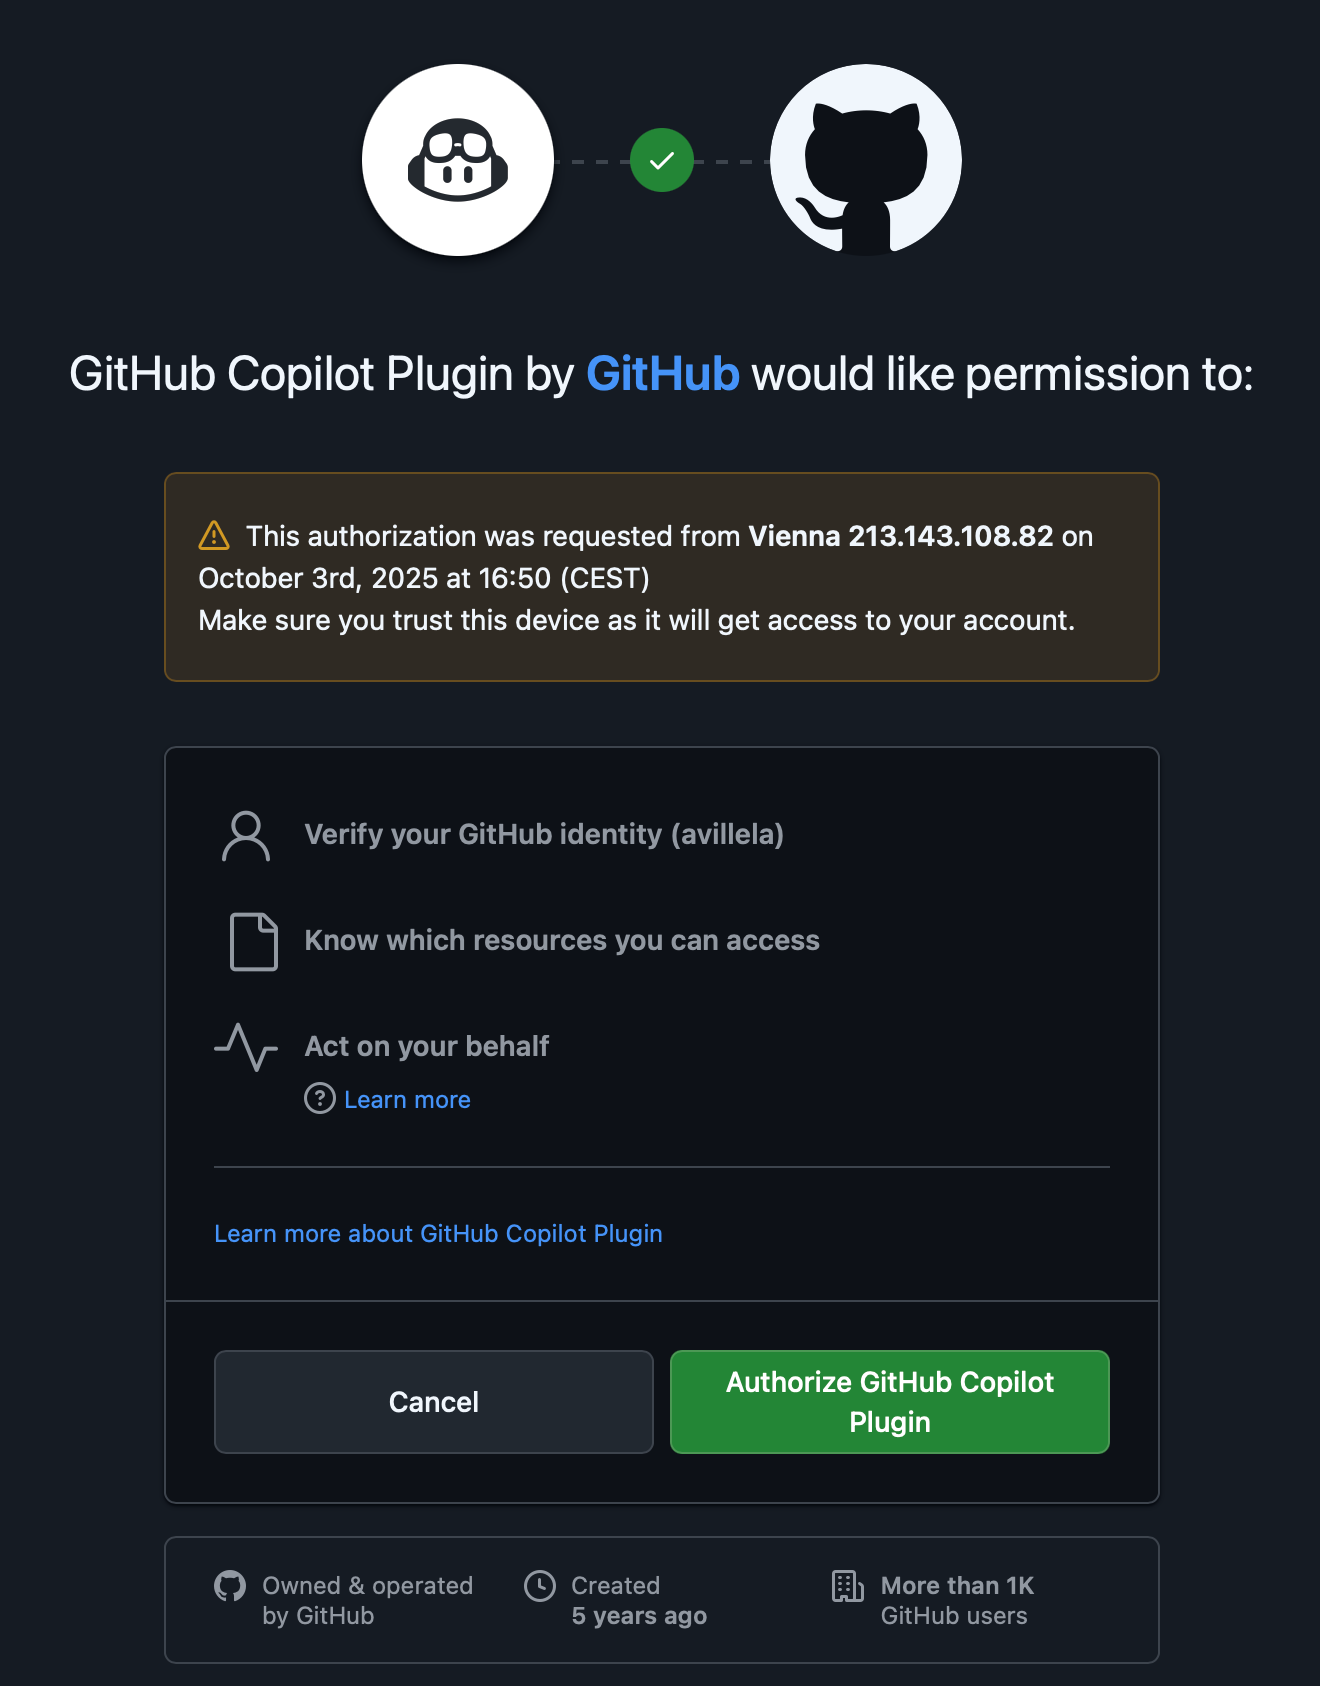
And then after clicking on “Continue”, I was prompted to authorize the GitHub Copilot plugin:
And after authorizing the plugin, I got this error: 🤬
Couldn’t access platform secure storage: Secret Service: no result foundThe thing is, Goose relies on the system keyring/keychain to store LLM Provider access tokens (e.g. GitHub Copilot, Claude, etc.). Since I’m running Goose in Ubuntu, it means that Goose uses the GNOME keyring. Ordinarily, this wouldn’t be an issue, BUT, since I chose to run this in a dev container, it meant that I made life harder on myself. 😭 It turns out that dev containers + keyrings + Goose no workie out of the box.
After a bunch of StackOverflow and circular conversations with Microsoft Copilot, it came down to having to install the packages below:
sudo apt update && sudo apt install -y \
  gnome-keyring \
  dbus-x11 \
  libsecret-1-0 \
  libsecret-1-dev \
  libsecret-tools
These packages are required for getting GNOME keyring to run. It in urn requires D-Bus to run. D-Bus is a communication system used by the gnome-keyring-daemon for secrets store and access by various applications. There’s a tool called dbus-launch, which starts a D-Bus session bus. Without dbus-launch, the gnome-keyring-daemon won’t run properly, meaning:
Your secrets store and access no workie, so
Goose can’t store or access your LLM Provider tokens, which means
You won’t be able to select a Model for your LLM Provider, which means
Goose no workie
Ouch.
But, that’s not all. Because even after installing all that, I still needed to start D-Bus and the gnome-keyring-daemon. Many hours and tears later, I got things working after doing the following:
Created a directory called
keyrings, in~/.local/share, because for some reason, it was missing. 😭Recreated the keyring manually:
touch ~/.local/share/keyrings/login.keyringLaunched D-Bus manually:
eval $(dbus-launch).Exported the D-Bus environment variable,
$DBUS_SESSION_BUS_ADDRESS, so that other programs (i.e. Goose) can connect to it:export $(dbus-launch)Started they keyring:
gnome-keyring-daemon — start — components=secrets
I also needed to enable IPC locking in my devcontainer.json, as it is required by the GNOME keyring. This ensures that you don’t end up with process contention between the host machine (my MacBook, in this case), and the dev container. To do this, I added the following snippet to devcontainer.json(see lines 26–31):
“runArgs”: [
  “--init” // Recommended for proper process management
],
“capAdd”: [
  “IPC_LOCK”
],
Unfortunately, that wasn’t enough. Because I was getting this error when attempting to start the GNOME keyring:
couldn’t connect to dbus session bus: Cannot spawn a message bus when setuidIt turns out that I needed to unlock the gnome-keyring-deamon. If you’re wondering, “WTF is going on here?”, then you’re in good company. Because, how could I unlock something that I *just* created in the first place? You and me both, my friend. You and me both.
To unlock the keyring, I had to run this command:
echo “blah” | gnome-keyring-daemon -r --unlock --components=secretWhich did the following:
Restarted the
gnome-keyring-daemon(-rflag)Unlocked the keyring (
--unlockflag)Started only the secrets component of the keyring (
--components==secret flag)
BUT…it expects a password to be provided via stdin. Since we *just* created the keyring (remember touch ~/.local/share/keyrings/login.keyring?), we can set that password to whatever we want. Which, in my case, was “blah”. Feel free to us whatever your want.
So, to summarize, before you can configure your LLM Provider in Goose, you need to run the following after installing GNOME keyring and D-Bus:
mkdir -p ~/.local/share/keyrings
touch ~/.local/share/keyrings/login.keyring
eval $(dbus-launch)
export $(dbus-launch)
gnome-keyring-daemon --start --components=secrets
echo “blah” | gnome-keyring-daemon -r --unlock --components=secret
Which gives you the following output (yours may vary slightly):
GNOME_KEYRING_CONTROL=/home/vscode/. cache/keyring-KEVID3
** Message: 15:06:58.771: Replacing daemon, using directory: /home/vscode/. cache/keyring-KEVID3
GNOME KEYRING CONTROL=/home/vscode/. cache/kevrina-KEVTD3
SUCCESS!
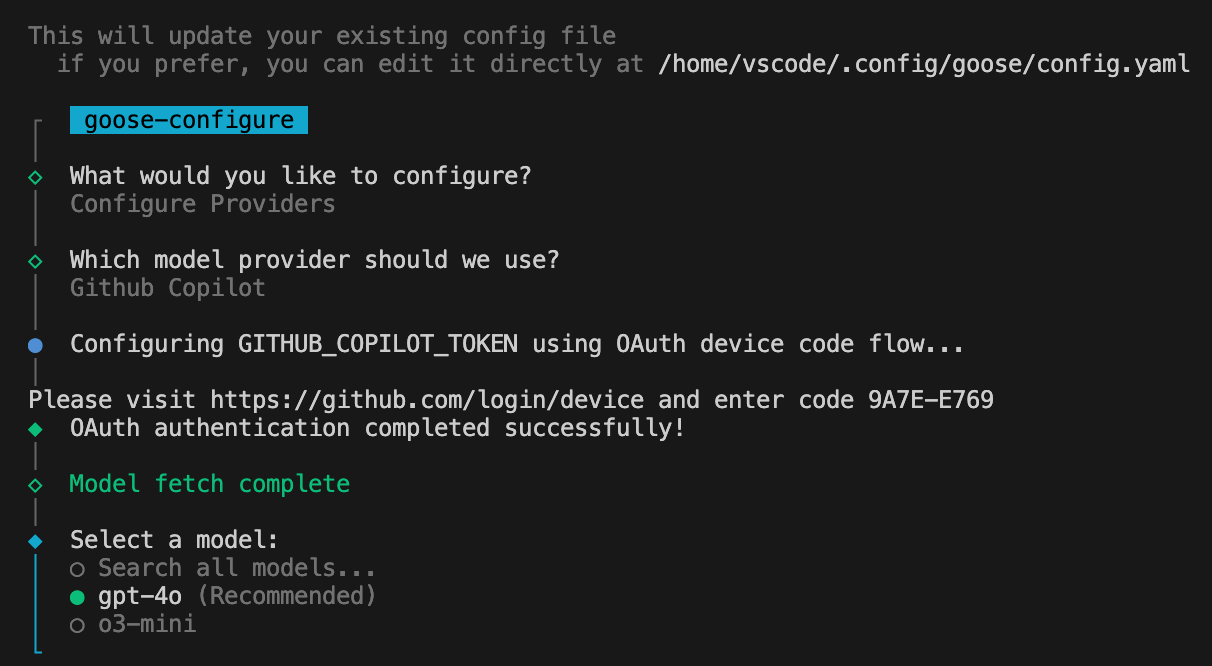
So now we’re ready to configure our LLM Provider again. To do that, run goose configure, and follow the same steps as before. This time, it things should work, and you should get this:
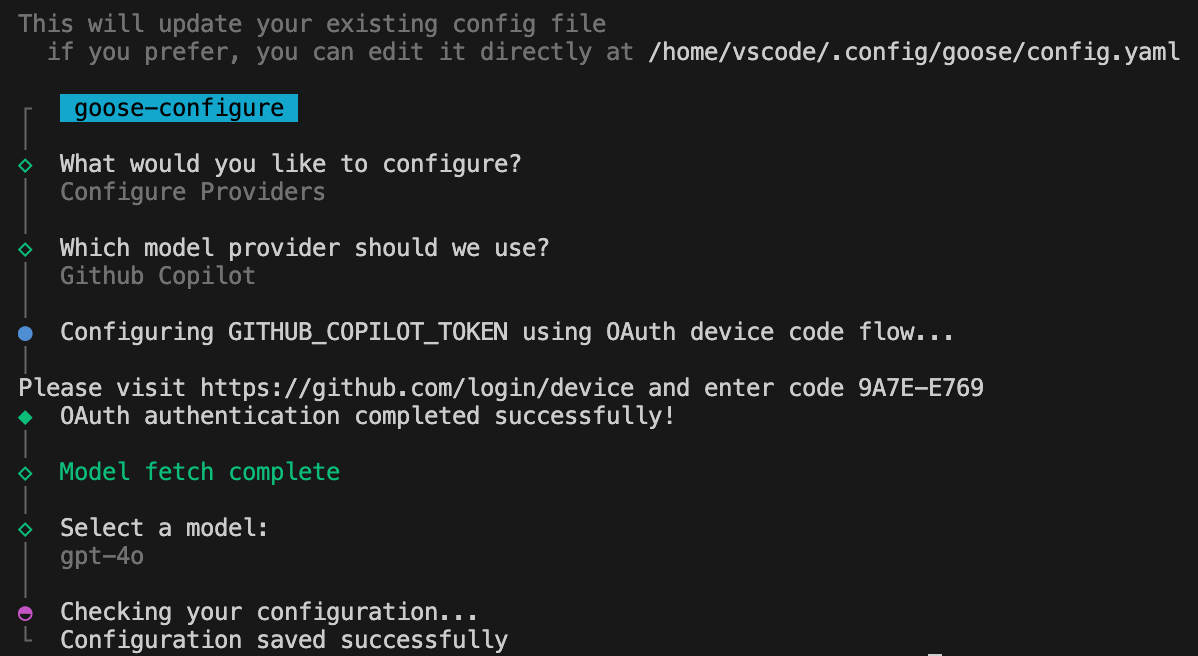
Which finally allowed me to select my Model. In my case gpt-4o.
Success at last! You can see the full configuration file in post-create.sh in my GitHub repo.
Once you successfully configure Goose, it creates a configuration file called config.yaml, located under ~/.config/goose, which contains the LLM Provider and model that you just configured:
GOOSE_MODEL: gpt-4o
GOOSE_PROVIDER: github_copilot
Goose Extensions also get added to this file, but that’s another topic for my next post.
Starting Goose
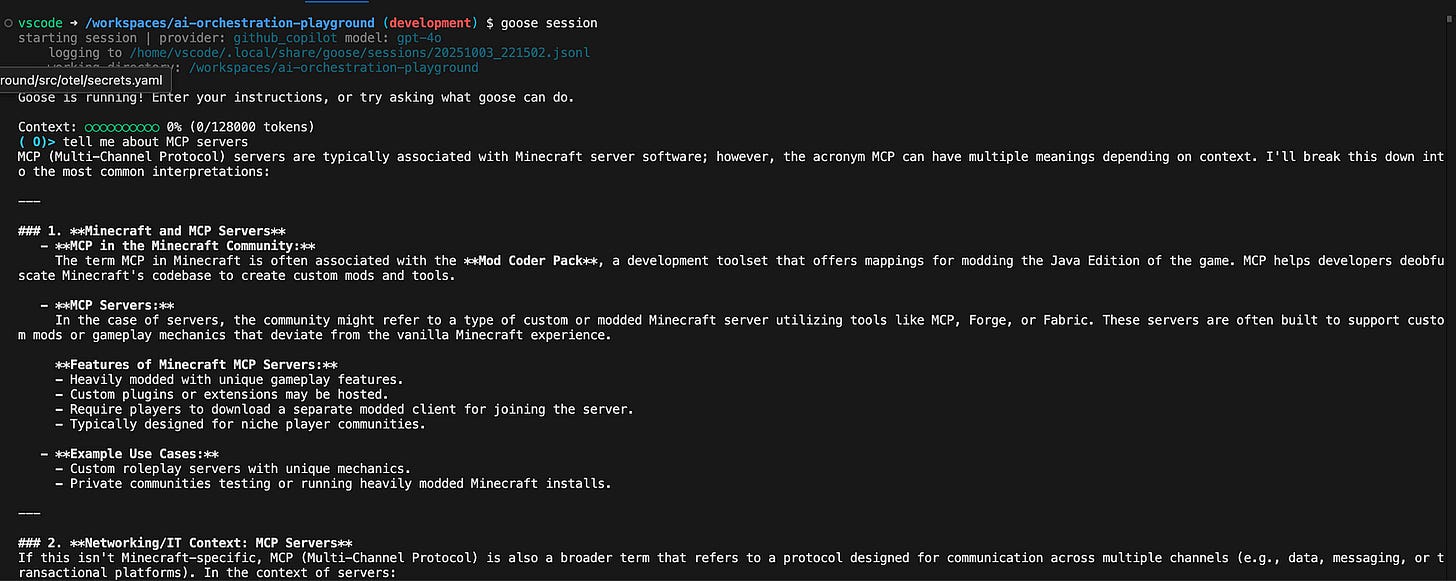
You are now finally ready to play around with Goose. To test it out, start Goose:
goose sessionWhich will look something like this:
And ask it a question. I asked it, “Tell me about MCP servers”. Here’s the output I got:
We’re not ready to do anything fancy yet, like have Goose interact with file system. We’ll need to configure Extensions (MCP servers) for that. That’s for next time.
Gotchas
I wish I could say that the keyring stuff was the end of my troubles, but alas, it wasn’t. I’m not sure if the issues I encountered are a Goose thing or a dev containers + Goose thing, but they’re worth mentioning, in case you run into them as well.
Error #1
ERROR goose::session::storage: Failed to generate session description: Authentication error: Authentication failed. Please ensure your API keys are valid and have the required permissions. Status: 401 UnauthorizedTo fix it, I simply deleted the Goose configuration directory:
rm -rf ~/.config/gooseAnd re-ran goose configure to set up GitHub Copilot again. Painful and annoying, I know. If you encounter a nicer workaround, let me know!!
Error #2
ERROR goose::session::storage: Failed to generate session description: Execution error: failed to get api info after 3 attemptsNever fear! Just run this, and you’ll be good to go:
rm -rf ~/.local/share/keyrings
mkdir -p ~/.local/share/keyrings
touch ~/.local/share/keyrings/login.keyring
eval $(dbus-launch)
export $(dbus-launch)
gnome-keyring-daemon --start --components=secrets
echo “blah” | gnome-keyring-daemon -r --unlock --components=secret

goose configure
Basically you have to restart the GNOME keyring, restart D-Bus, and unlock the keyring, and re-run goose configure, like we did on initial setup. Again, annoying, but it fixes the issue. I’m open to a better way of fixing this error!
Final thoughts
Getting Goose to run in a dev container on my local machine took an entire long, long day. I learned more about the GNOME keyring than I ever wanted to. To be honest, I’m not sure how my brain managed to cobble all of this information together into a workable solution, but I credit my persistence and determination to not be defeated by tech for my success. Microsoft Copilot definitely helped a lot too!
Anyway, I hope that this helps you out, should you ever decide to run Goose in a dev container on your machine. And even if that’s not your use case, this also comes in handy for any application running inside a dev container that needs to use the GNOME keyring.
If you’d like to learn more about the stuff that I did with Goose, stay tuned for the next post in the series.
And now, I’ll leave you with this lovely photo of Katie, poking her head out of a tissue box.
Until next time, peace, love, and code. ✌️💜👩💻


